Before you start sending emails, you must have followed the project setup and have a verified identity that you will use to send emails. If you haven’t done that yet, please follow the project setup guide.
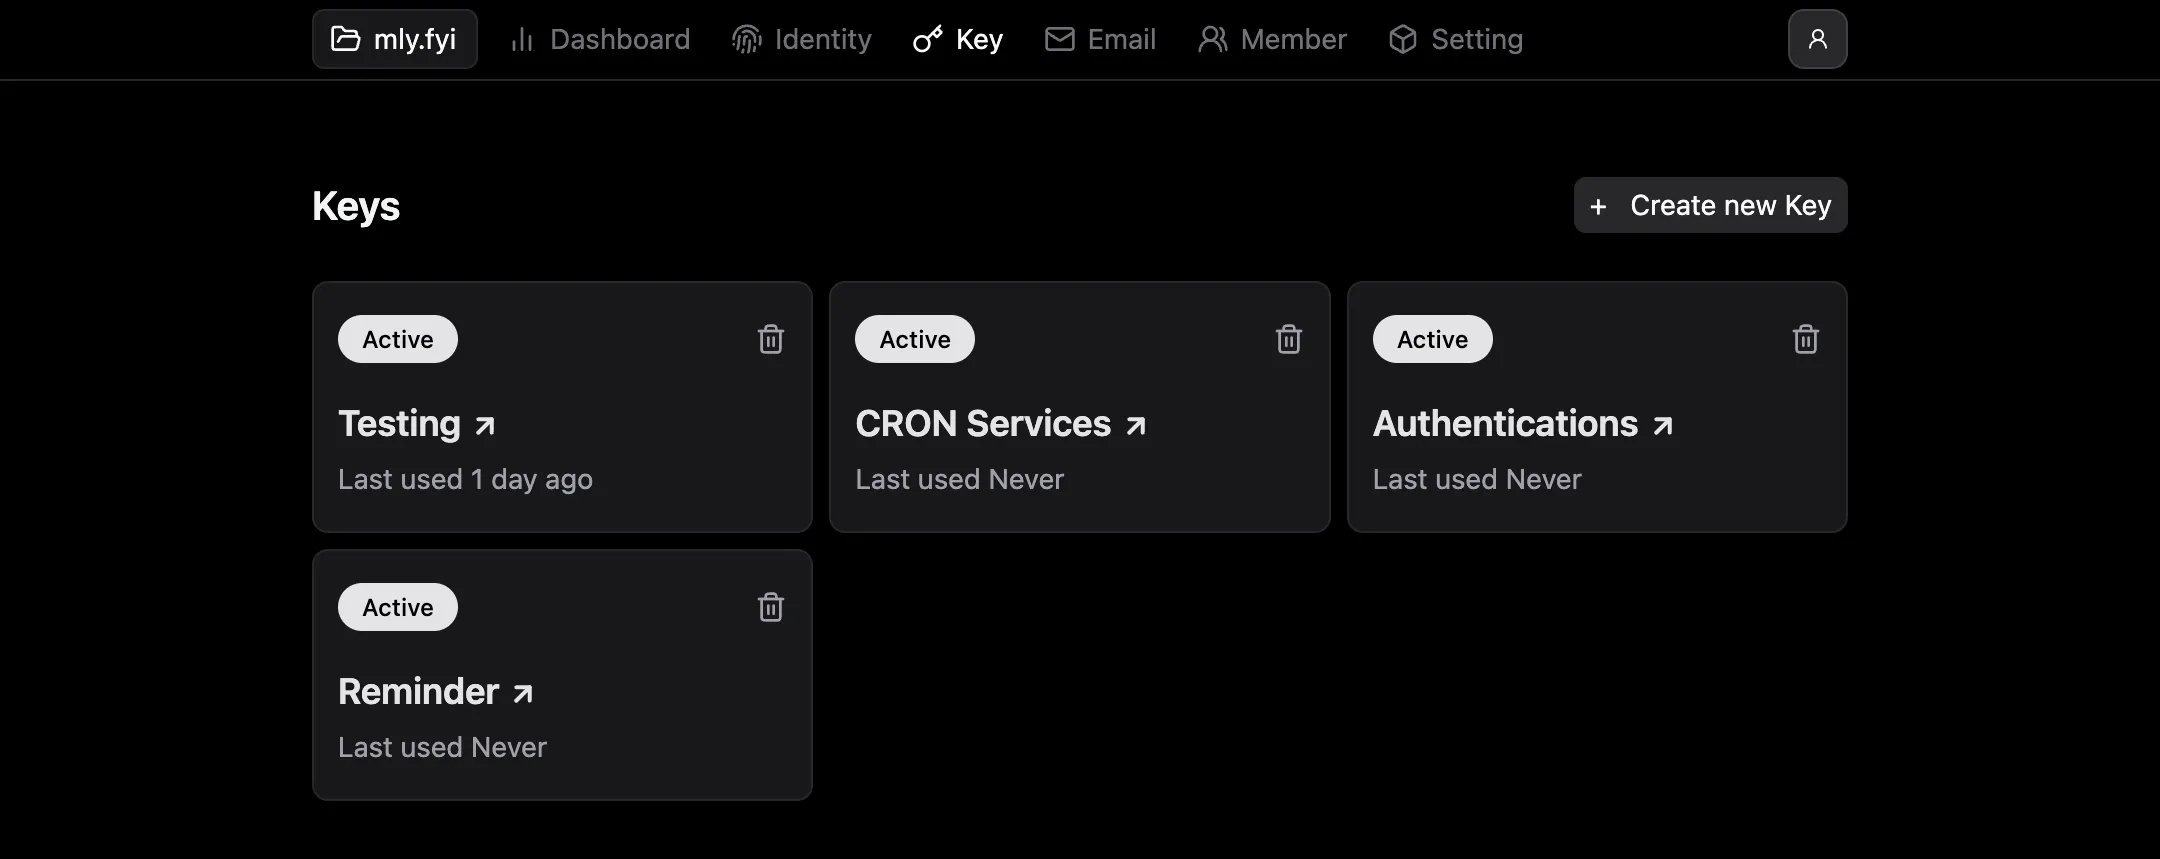
To start sending emails from the identity, you have to create an API key. You can create an API key from the Key page. Once you have the API key, you can use it to send emails from the identity.

Note: Keep the API key secret. Don’t share it with anyone. If you think the API key is compromised, you can delete the API key from the
Keypage and create a new one.
To send an email, you have to send an HTTP request to the API endpoint. You can send an email using the POST method to the /api/v1/email/send endpoint. You have to include the following fields in the request body:
curl -X POST \
  http://your-project-url/api/v1/email/send \
  -H 'Content-Type: application/json' \
  -H 'X-Mly-Api-Key: YOUR_API_KEY' \
  -d '{
    "from": "John Doe <john@example.com>",
    "to": "hello@example.com",
    "subject": "Hello",
    "text": "Hello, World!",
    "html": "<h1>Hello, World!</h1>"
  }'
Replace YOUR_API_KEY, and http://your-project-url with the API key, and the URL of your app. You can use any language to send an HTTP request to the API endpoint.
Here is an example using Node.js:
const response = await fetch('http://localhost:3000/api/v1/email/send', {
  method: 'POST',
  headers: {
    'Content-Type': 'application/json',
    'X-Mly-Api-Key': 'YOUR_API_KEY',
  },
  body: JSON.stringify({
    from: 'John Doe <john@example.com>',
    to: 'hello@example.com',
    subject: 'Hello',
    text: 'Hello, World!',
    html: '<h1>Hello, World!</h1>',
  }),
});

const data = await response.json();
console.log(data);
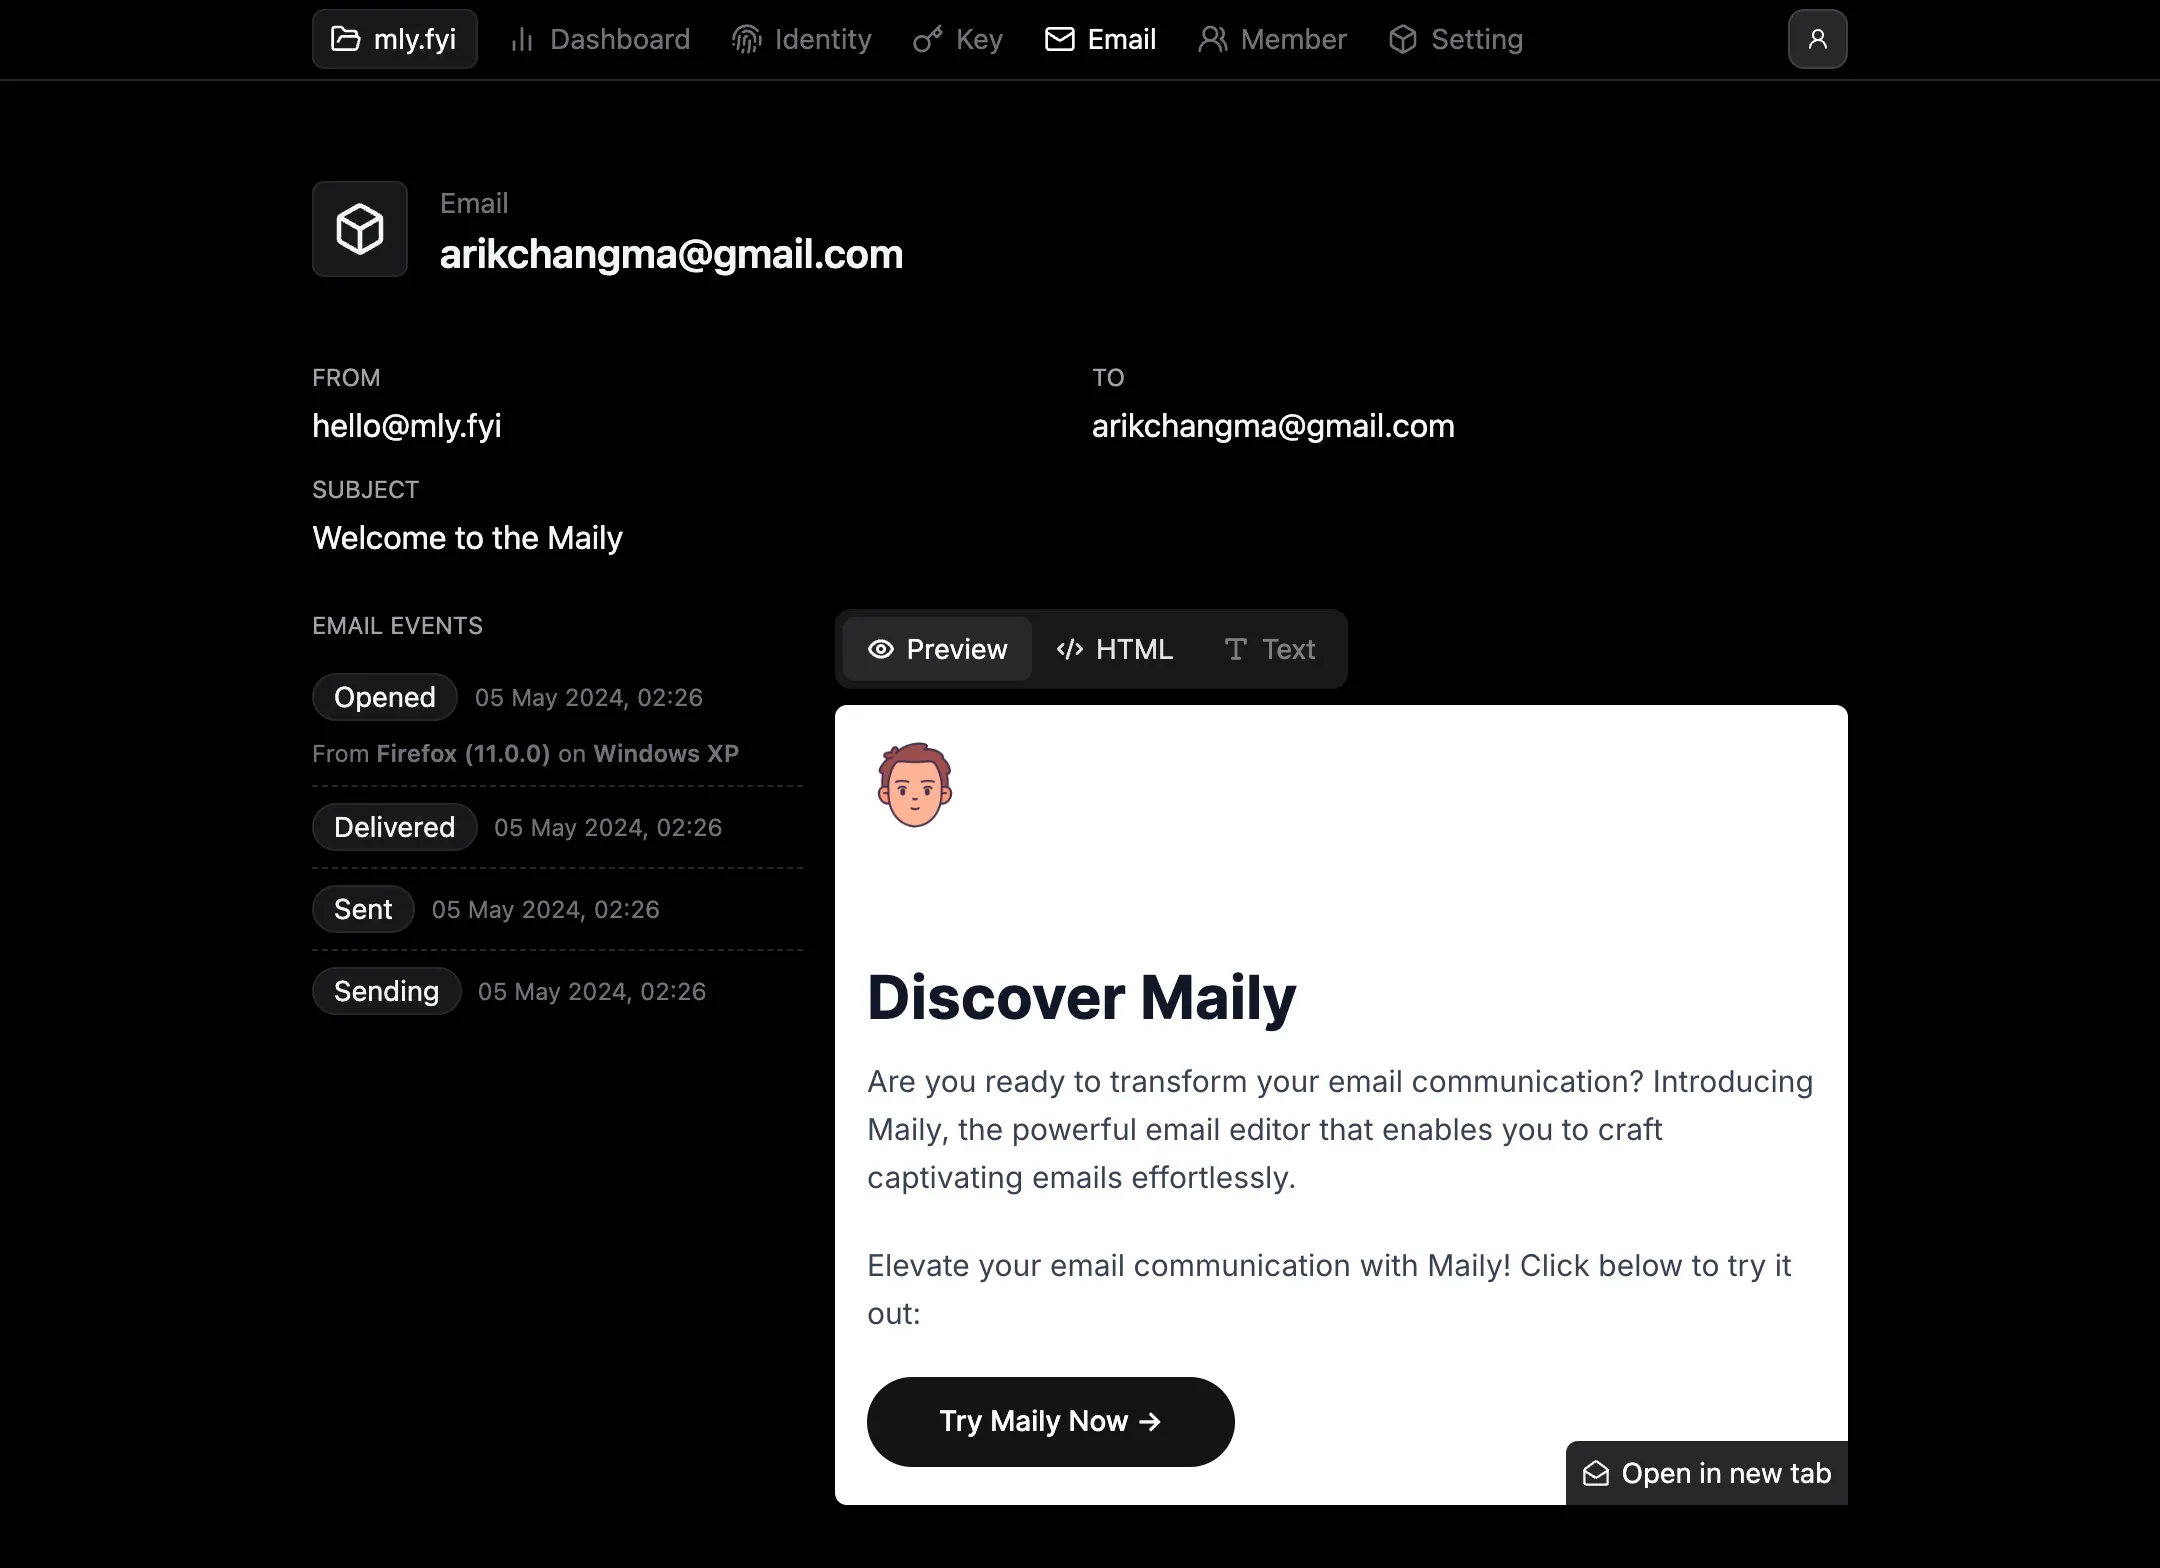
You can check the email status from the Emails page in the app.

You can see the status of the email, and the delivery status of the email. If the email is delivered, you can see the delivery status as delivered.